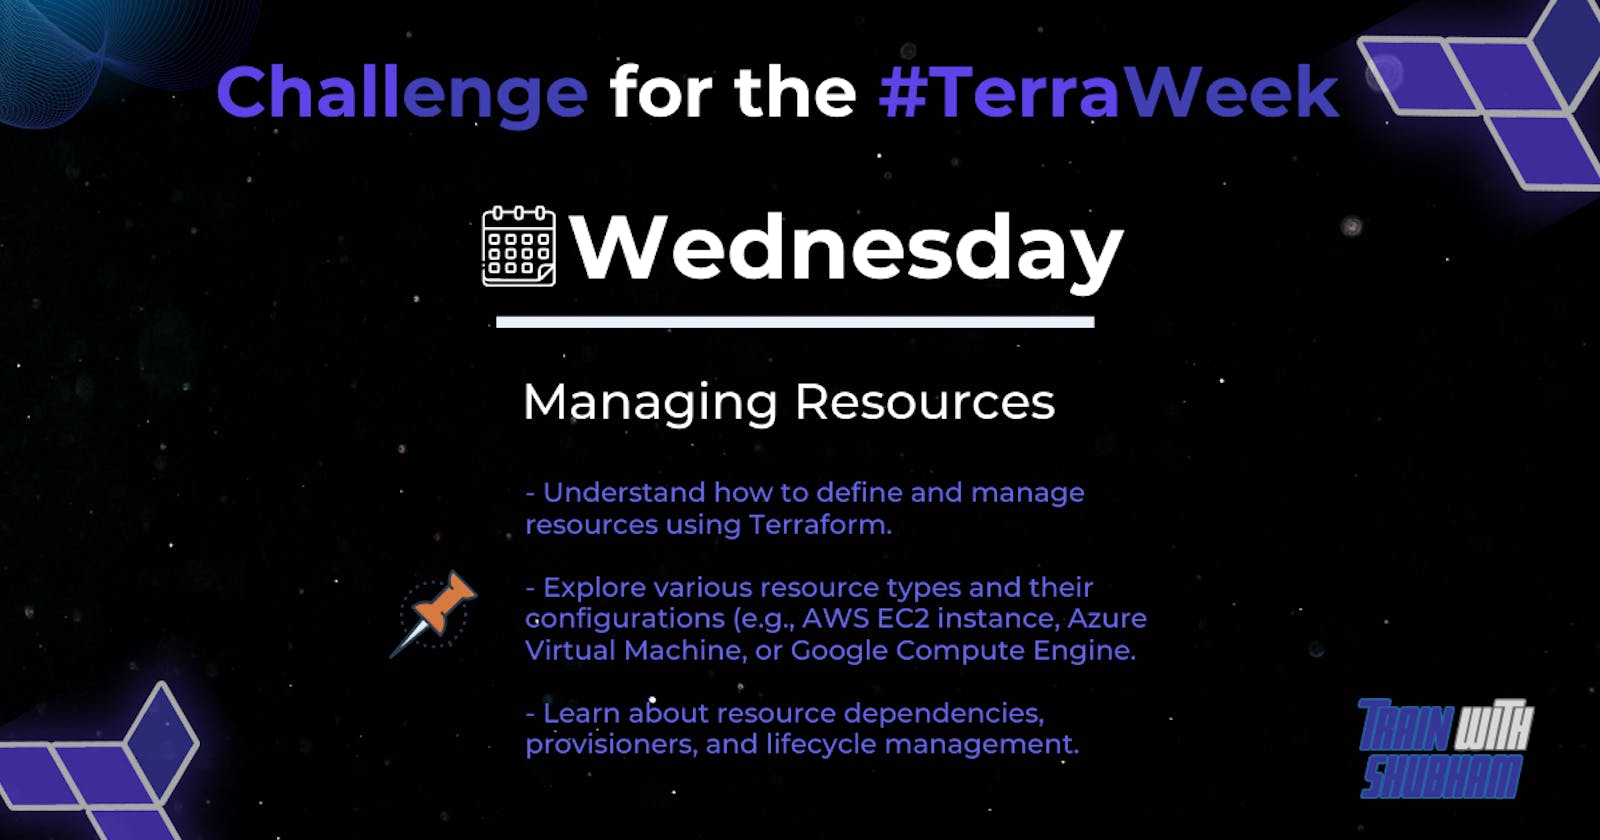
Task 1:
Create a Terraform configuration file to define a resource of AWS EC2 instance, Azure storage account, Google Compute Engine, etc. (any one)
Task 2:
Check state files before running plan and apply commands & Use validate command to validate your tf file for errors and provide the Output generated by each commands.
Task 3:
Add a provisioner to the configuration file to configure the resource after it is created and use Terraform commands to apply for changes and destroy to remove resources.
Task 4:
Add lifecycle management configurations to the configuration file to control the creation, modification, and deletion of the resource and use Terraform commands to apply the changes.
Task 1: Creating a Resource: The first step in leveraging Terraform is defining a resource. Whether it's an AWS EC2 instance, an Azure storage account, or a Google Compute Engine, Terraform allows you to describe your infrastructure in code using a declarative configuration language called HashiCorp Configuration Language (HCL). Let's start by creating an AWS EC2 instance using Terraform:
data "aws_ami" "ubuntu" {
  most_recent = true

  filter {
    name   = "name"
    values = ["ubuntu/images/hvm-ssd/ubuntu-jammy-22.04-amd64-server-*"]
  }

  filter {
    name   = "virtualization-type"
    values = ["hvm"]
  }

  owners = ["099720109477"] # Canonical
}

resource "aws_instance" "web" {
  ami           = data.aws_ami.ubuntu.id
  instance_type = "t2.micro"

  tags = {
    Name = "Day3"
  }
}
A
datablock that defines a data source namedaws_amiand retrieves the latest Ubuntu AMI ID that matches the specified filters. Themost_recentparameter is set totrueto retrieve the latest AMI. Thefilterblocks specify the name and virtualization type of the AMI to retrieve, and theownersparameter specifies the owner of the AMI, which is Canonical in this case.A
resourceblock that defines an AWS EC2 instance resource namedweb. Theamiparameter is set to the ID of the Ubuntu AMI retrieved from thedatablock. Theinstance_typeparameter is set tot2.micro. Thetagsparameter is set to a map of tags to assign to the resource, which includes aNametag with the value "Day3".


Task 2: Checking State Files and Validating Configuration: Before applying changes to our infrastructure, it's essential to check the state files and validate the Terraform configuration for errors. Terraform provides commands to accomplish these tasks:
terraform state list  # Check the list of resources managed by Terraform
terraform validate    # Validate the Terraform configuration for errors

Executing these commands ensures that our configuration is syntactically correct and aligns with the current state of our infrastructure.
Task 3: Adding a Provisioner: Provisioners in Terraform allow us to execute commands on provisioned resources, this is a bit similar to user script we add while creating EC2 instance from the console. Let's add a local-exec provisioner to our EC2 instance configuration to run commands after the instance is created:
resource "aws_instance" "web" {
  ami           = data.aws_ami.ubuntu.id
  instance_type = "t2.micro"

  provisioner "local-exec" {
    command = "echo 'EC2 Instance created with Terraform'"
  }
}
With this provisioner, Terraform will execute the specified command locally after successfully creating the EC2 instance.

Task 4: Implementing Lifecycle Management: Lifecycle management configurations in Terraform control the creation, modification, and deletion of resources. Let's add lifecycle configurations to our EC2 instance resource:
resource "aws_instance" "web" {
  ami           = data.aws_ami.ubuntu.id
  instance_type = "t2.micro"

  # Define lifecycle management configurations
  lifecycle {
    create_before_destroy = true  # Create a new instance before destroying the old one
    ignore_changes        = [user_data]  # Ignore changes to the user_data attribute
  }
}
In this example, we ensure that Terraform creates a new instance before destroying the old one, and we instruct Terraform to ignore changes to the user_data attribute to avoid unnecessary recreation of the instance.
GitHub Link for the Code: https://github.com/pmgoriya/TerraWeek/tree/main/day03
Thanks for reading until here see you in the next one.
